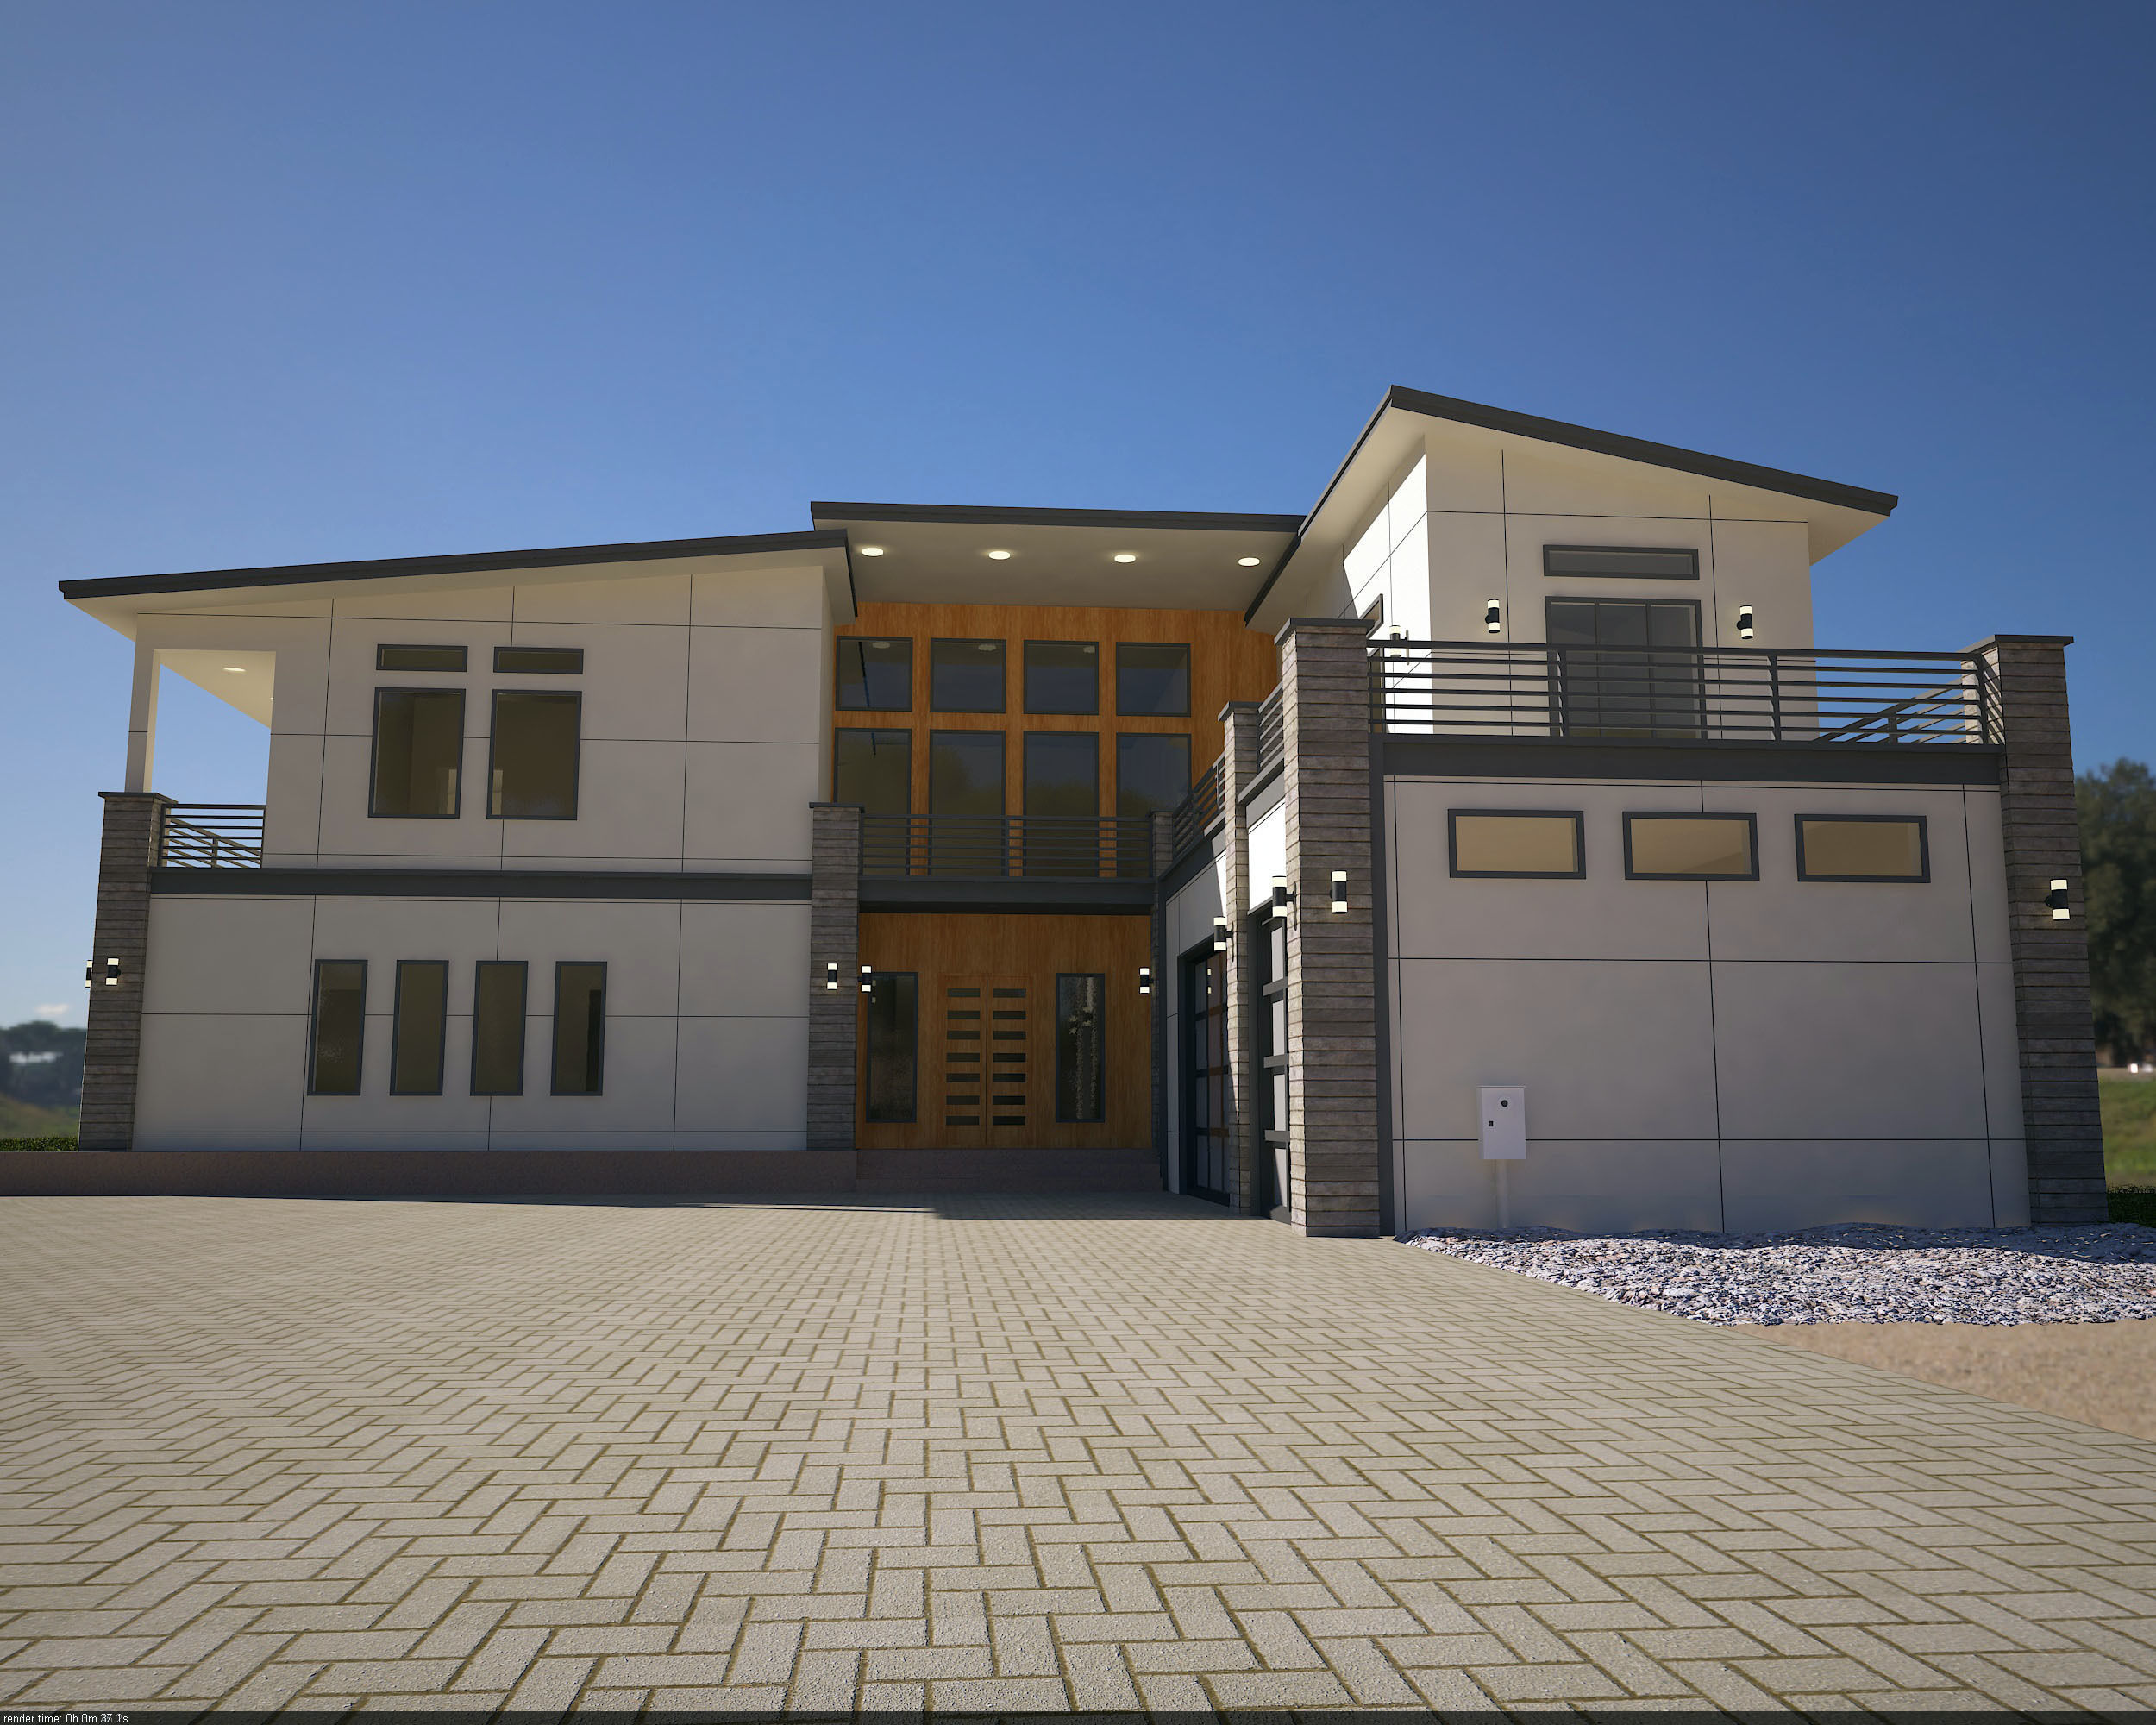
In today’s digital age, the ability to create stunning 3D renders and models has revolutionized the way we visualize and bring spaces to life. Whether it’s architectural designs, interior decor concepts, or product prototypes, 3D rendering and modeling have become indispensable tools for designers, architects, and businesses looking to showcase their vision with precision and impact.
The Art of Visualization

One of the most significant advantages of 3D rendering is its ability to provide a realistic and immersive visualization of spaces that are yet to be built or designed. Architects and interior designers can use 3D renders to showcase their concepts to clients, allowing them to explore every detail and aspect of the design before it’s brought to reality. This not only enhances communication and understanding but also reduces the risk of misunderstandings and revisions during the actual construction or design phase.
Precision and Detail

Creating 3D models enables designers to work with unparalleled precision and detail. Every aspect of the space, from the layout and dimensions to the materials and lighting, can be accurately represented in a 3D model. This level of detail allows for better decision-making, as designers can experiment with different options and configurations to find the perfect balance and aesthetic appeal.
Flexibility and Adaptability


One of the key benefits of 3D rendering is its flexibility and adaptability. Changes and modifications can be made to the design easily and quickly in the virtual environment, without the need for extensive rework or costly adjustments in the physical world. This agility not only saves time and resources but also allows for more creative exploration and innovation in design concepts.
Realistic Visualization for Marketing and Sales

For businesses in the real estate, interior design, and product manufacturing industries, 3D rendering plays a crucial role in marketing and sales. High-quality and realistic 3D renders can be used in marketing materials, websites, and presentations to showcase properties, interiors, or products in the best possible light. This not only attracts potential customers but also helps in closing deals faster by providing a clear vision of the final outcome.
Collaborative Design and Feedback

3D rendering facilitates collaborative design processes by allowing stakeholders, clients, and team members to provide feedback and suggestions based on realistic visualizations. This collaborative approach fosters better communication, understanding, and alignment among all parties involved, leading to smoother project workflows and outcomes.
Future-Proofing Designs

In a rapidly evolving design landscape, 3D rendering technology offers a way to future-proof designs by enabling designers to experiment with innovative ideas and trends. Virtual reality (VR) and augmented reality (AR) applications further enhance the immersive experience, allowing users to virtually walk through spaces and interact with designs in real-time.
Creating a 3D render or model involves several steps and requirements to ensure a high-quality and realistic outcome. Here’s an overview of the process and the necessary elements:
1. Conceptualization and Design Brief
- Conceptualization: Define the concept, purpose, and objectives of the 3D model. Understand the client’s vision and requirements.
- Design Brief: Gather detailed information about the space or product to be modeled, including dimensions, materials, textures, colors, and lighting preferences.
2. Gathering References and Inspiration
- References: Collect reference images, sketches, and drawings related to the project. These references help in understanding the style, details, and overall look of the final model.
- Inspiration: Research current design trends, industry standards, and innovative ideas that can enhance the quality and creativity of the model.
3. Modeling Software and Tools
- Software: Choose a 3D modeling software based on the project requirements and your expertise. Popular options include Blender, Autodesk Maya, 3ds Max, SketchUp, and Rhino.
- Tools: Ensure access to necessary hardware such as a powerful computer with sufficient RAM and graphics processing capabilities. A graphics tablet or stylus can also be beneficial for precision modeling.
4. Model Creation Process
- Basic Geometry: Start by creating the basic geometric shapes that form the structure of the model, such as walls, floors, and objects.
- Detailing: Add intricate details, textures, and patterns to enhance realism. Use techniques like sculpting, extruding, and boolean operations to create complex shapes and structures.
- Material Application: Apply materials and textures to different elements of the model, considering factors like reflectivity, transparency, and roughness to achieve desired visual effects.
- Lighting Setup: Set up lighting sources within the 3D environment to simulate natural or artificial lighting conditions. Experiment with different lighting angles, intensities, and colors to create the desired ambiance.
- Rendering: Use rendering software within the modeling software or external render engines like V-Ray, Arnold, or Octane Render to generate high-quality images or animations of the model.
5. Iterative Process and Feedback
- Iterations: Iterate on the design based on feedback from clients, stakeholders, or peers. Make adjustments to the model, materials, lighting, and overall composition as needed to meet project goals and expectations.
- Collaboration: Collaborate with team members, including artists, designers, and architects, to leverage their expertise and insights in refining the model and ensuring accuracy.
6. Final Presentation and Delivery
- Presentation: Prepare a final presentation of the 3D model, including rendered images, animations, and walkthroughs, if applicable. Showcase different views, perspectives, and details to highlight the model’s features and qualities.
- Delivery: Deliver the finalized 3D model files in the required formats (e.g., OBJ, FBX, STL) to the client or project stakeholders. Provide any additional documentation or instructions related to the model’s usage and implementation.
By following these steps and requirements, you can create a compelling and realistic 3D model that meets the client’s expectations and adds value to the design process.
Share this:
- Click to share on Facebook (Opens in new window) Facebook
- Click to share on X (Opens in new window) X
- Click to print (Opens in new window) Print
- Click to email a link to a friend (Opens in new window) Email
- Click to share on LinkedIn (Opens in new window) LinkedIn
- Click to share on Reddit (Opens in new window) Reddit
- Click to share on X (Opens in new window) X
- Click to share on Tumblr (Opens in new window) Tumblr
- Click to share on WhatsApp (Opens in new window) WhatsApp